When to Replace Your Fuel Filter (and How to Do It)
Published on Feb 6, 2025 • 4 min read

Changing your fuel filter is an essential maintenance task that can improve your vehicle’s performance and fuel efficiency while preventing costly engine issues. This guide will walk you through the replacement process, covering the tools you’ll need, where to find your fuel filter, step-by-step instructions, and key safety precautions.
By the end, you’ll have the knowledge and confidence to replace your fuel filter correctly, potentially saving you time and money compared to a professional service.
What You Need to Know About Fuel Filter Replacement
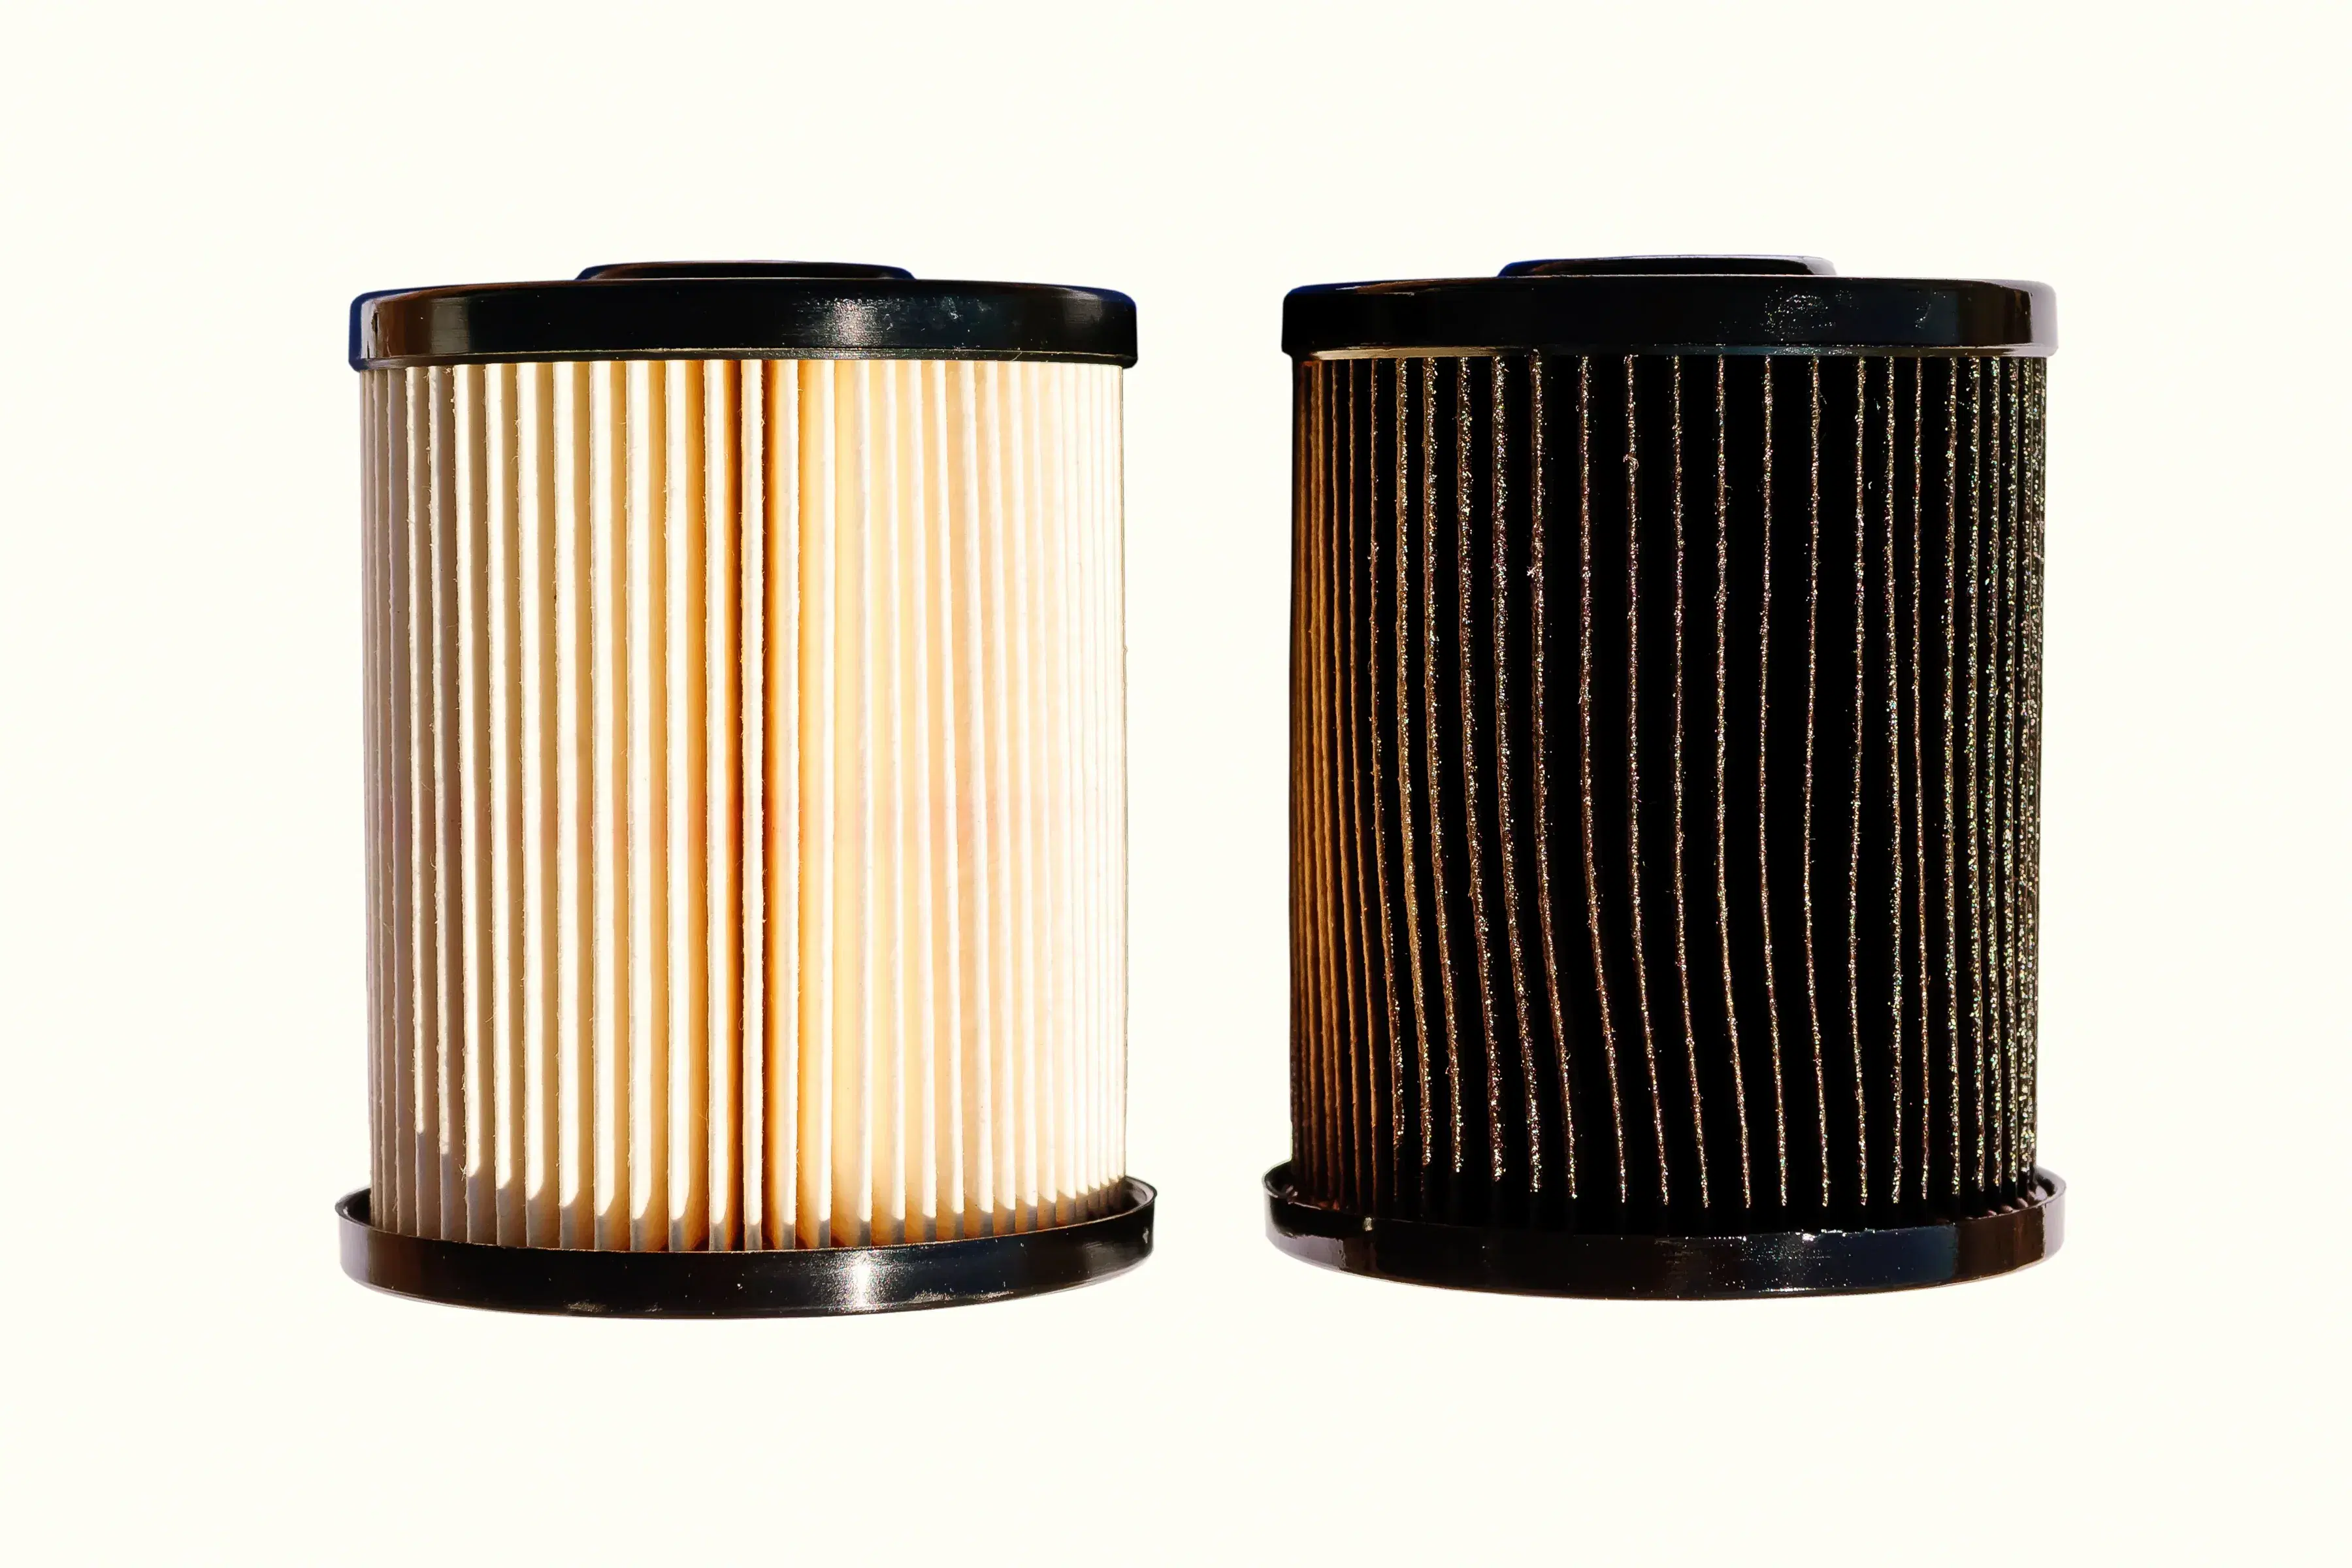
The fuel filter plays a crucial role in keeping your engine running smoothly by trapping dirt, rust, and other contaminants before they reach the fuel injectors. A clean filter helps maintain proper fuel flow, ensuring optimal engine performance, fuel efficiency, and longevity.
Neglecting to replace a clogged or dirty fuel filter can lead to:
- Engine misfires or hesitation
- Stalling or difficulty starting
- Reduced acceleration and poor fuel economy
Over time, a severely clogged filter can strain the fuel pump, potentially leading to expensive repairs. Keeping your filter in good condition is a simple but effective way to avoid these issues.
When to Replace Your Fuel Filter
Most manufacturers recommend replacing the fuel filter every 30,000 to 50,000 miles, but this varies depending on your vehicle and driving conditions. If you frequently drive in dusty areas, stop-and-go traffic, or use lower-quality fuel, your filter may need replacement sooner.
Signs that your fuel filter may be clogged include:
- Engine hesitation or misfires that restrict fuel flow disrupts combustion.
- Difficulty starting when the engine struggles to get enough fuel.
- Reduced acceleration or power when the fuel supply can’t keep up with demand.
- Frequent stalling when a severely clogged filter is causing fuel starvation.
To avoid these issues, check your owner’s manual for your vehicle’s specific maintenance interval and replace the filter as needed. If you experience these symptoms, don’t wait for your next scheduled service—inspect the fuel filter sooner.
Where Is the Fuel Filter Located?
The location of your fuel filter depends on your vehicle’s make, model, and year. It’s typically found in one of the following places:
- Under the vehicle and often mounted along the frame rail, in line with the fuel line.
- Near the fuel tank positioned close to or above the fuel tank, especially in trucks and some SUVs.
- In the engine compartment found near the fuel rail or firewall in many older and some newer vehicles.
However, many modern cars have in-tank fuel filters, which are part of the fuel pump assembly. These are not meant to be replaced as a standalone component and often require professional servicing.
The easiest way to find the exact location of your fuel filter is to refer to your owner’s manual or look up a service guide for your specific make and model.
Tools and Materials Needed
Before you begin, gather the essential tools and materials to ensure a smooth replacement process:
Essential Tools & Materials
- New Fuel Filter
- Safety Glasses & Gloves
- Jack & Jack Stands
- Wrench Set
- Drip Pan or Plastic Container
- Rags or Paper Towels
Helpful but Optional Tools
- Flathead Screwdriver
- Needle-Nose Pliers
- Penetrating Oil
- Fuel Line Disconnect Tool
- Thread Sealant (if required)
Step-by-Step Instructions for Fuel Filter Replacement
1. Prepare your vehicle
- Check your owner’s manual to confirm the fuel filter location and any specific requirements.
- Relieve fuel pressure to avoid fuel spray:
- Locate the fuel pump fuse or relay in the fuse box.
- Start the engine and let it run until it stalls.
- Turn off the ignition and remove the key.
Some vehicles have a fuel pressure release valve (Schrader valve) on the fuel rail—press it with a rag underneath to safely relieve pressure.
2. Secure the vehicle
- Park on a flat surface and engage the parking brake.
- If necessary, jack up the car and place it on jack stands for better access.
3. Prepare for fuel spillage
- Place a drip pan beneath the fuel filter to catch any spilled fuel.
- Wear safety glasses and gloves to protect against fuel splashes.
- Have rags or paper towels nearby for cleanup.
4. Disconnect the fuel lines
- Identify how the fuel lines are attached:
- Loosen the hose clamps with a screwdriver.
- Use the correct size wrench for the threaded fittings
- Quick-connect fittings may require a fuel line disconnect tool.
- Carefully detach the lines, expecting a small amount of fuel to spill.
If the fittings are stuck or rusted, spray penetrating oil and let it sit for a few minutes before trying again.
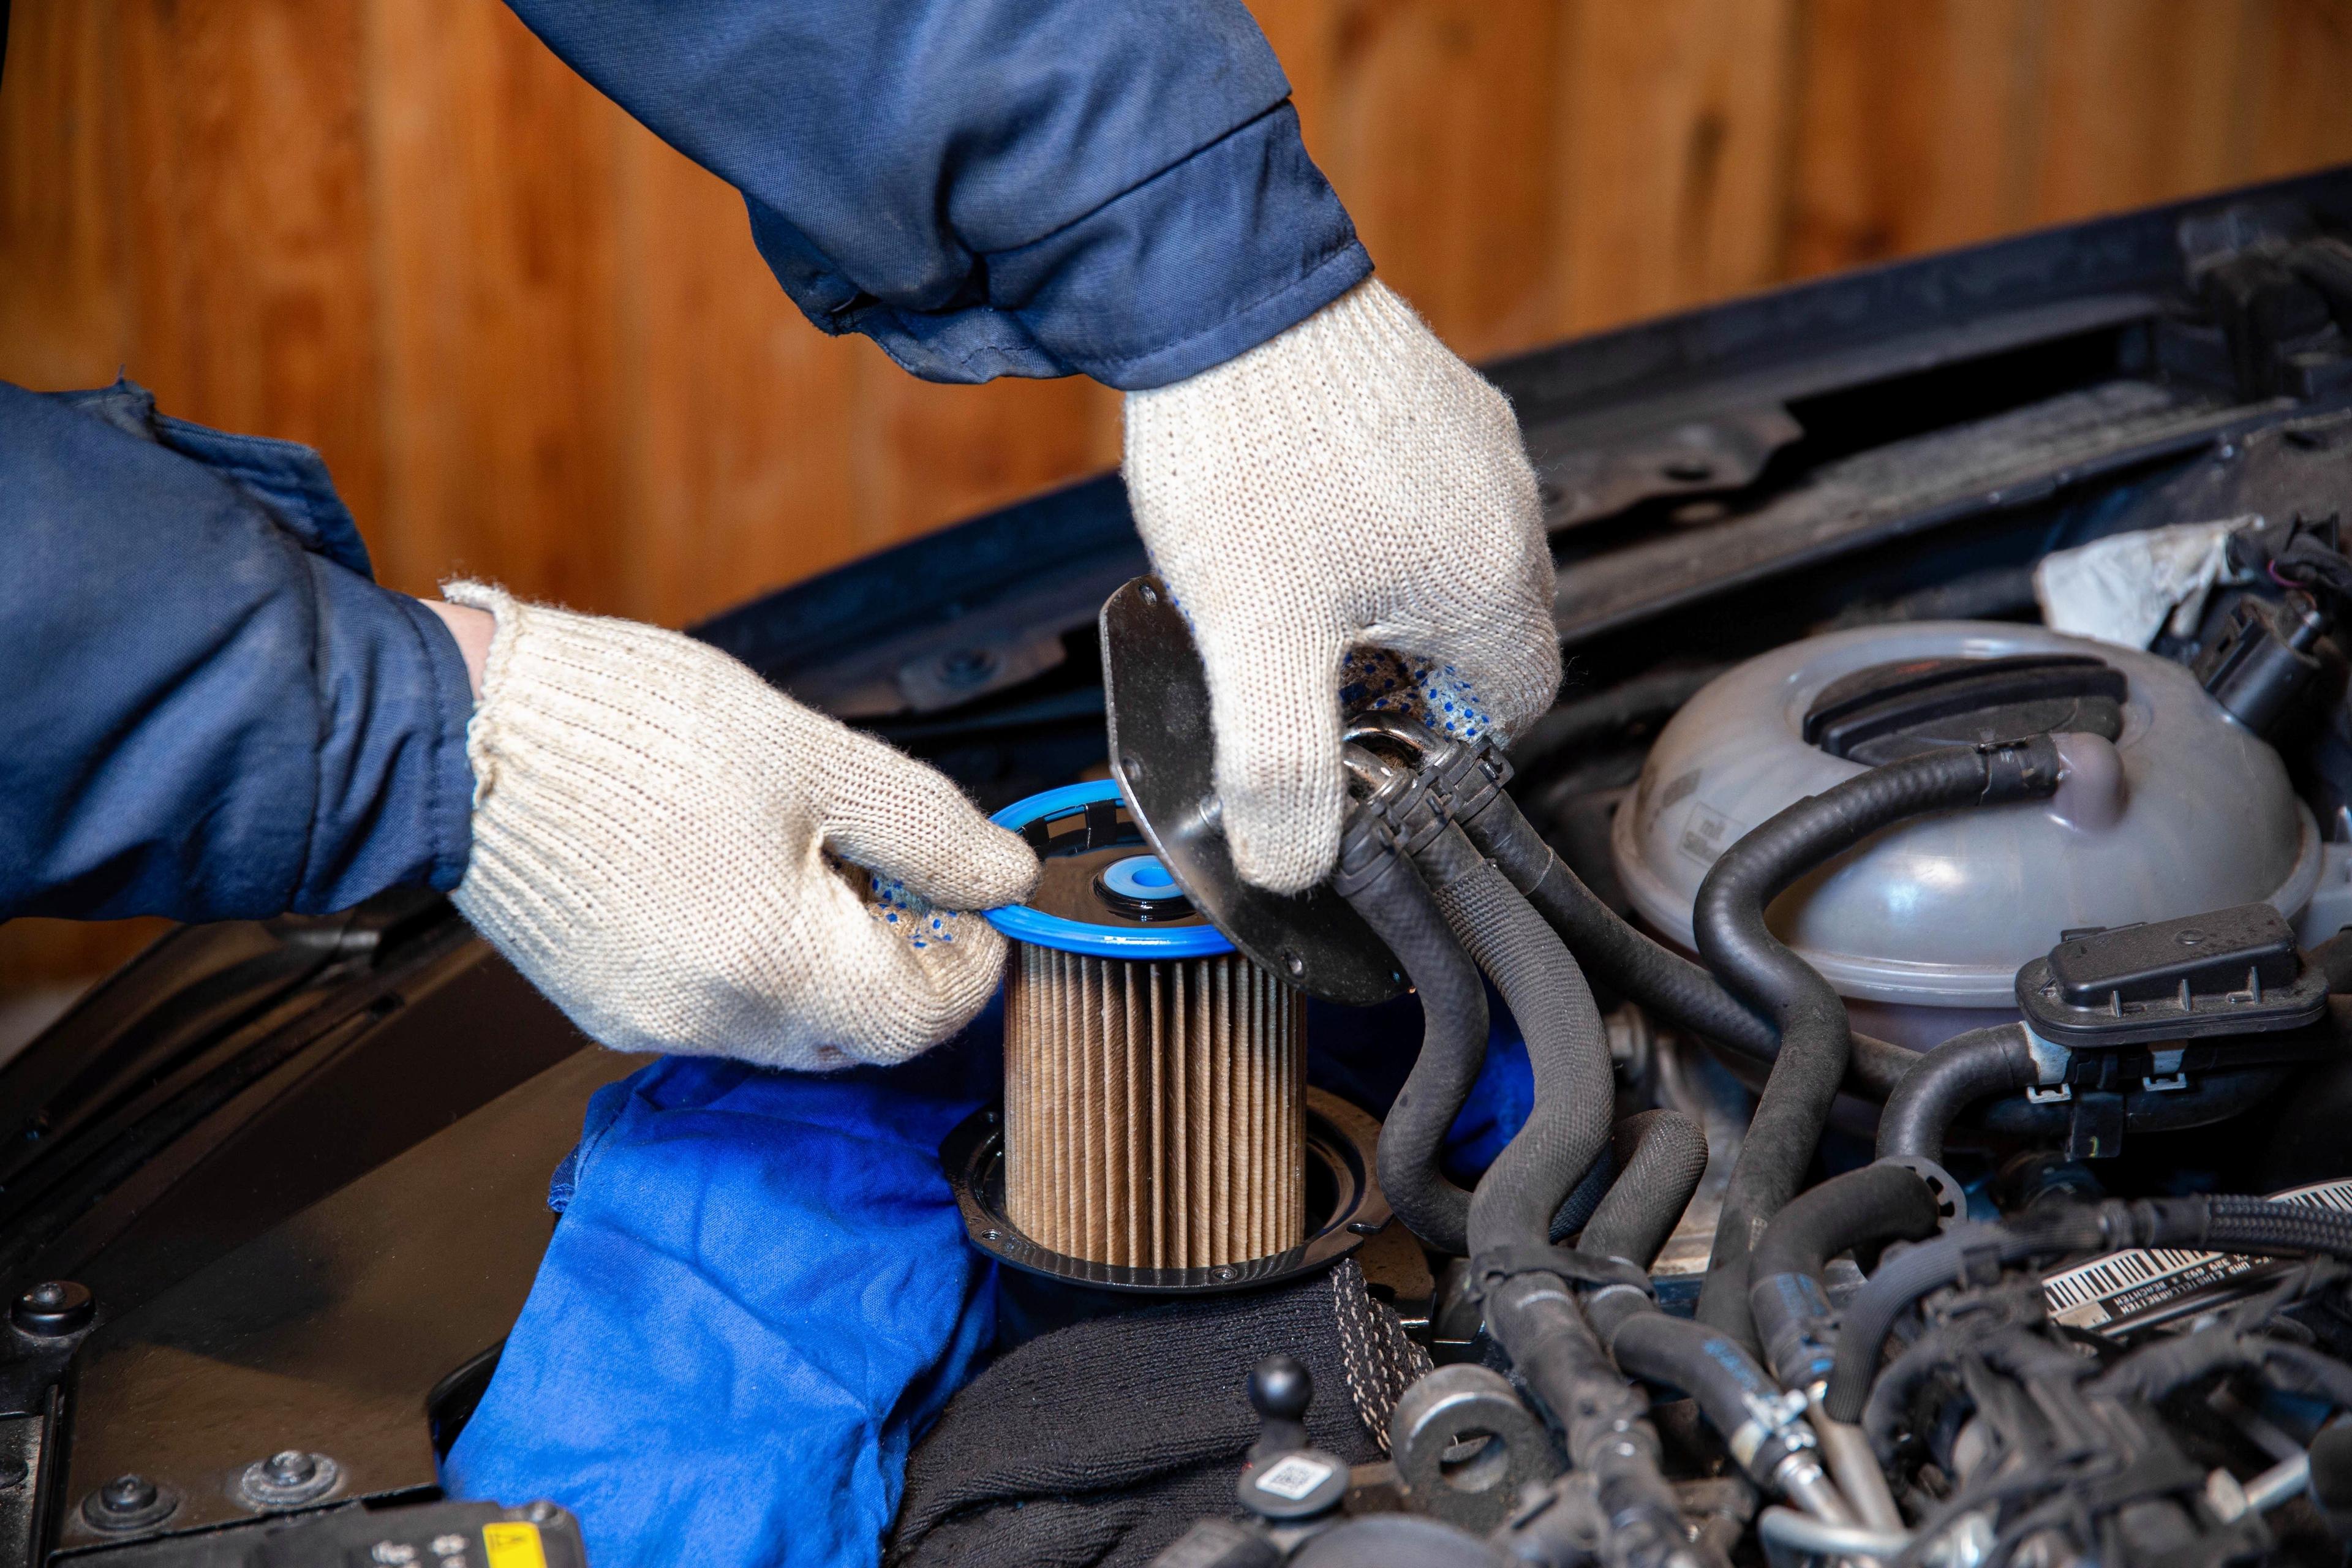
5. Remove the old fuel filter
- Take note of the filter’s orientation before removing it. Many have an arrow indicating fuel flow direction. Match this when installing the new one.
- Unbolt or unclip the filter from its mounting bracket and carefully remove it.
6. Install the new fuel filter
- Position the new filter with the correct fuel flow direction.
- Reattach the fuel lines securely to prevent leaks.
- Tighten clamps or fittings as needed.
7. Restore fuel pressure
- Reinstall the fuel pump fuse or relay.
- Turn the ignition to the “On” position without starting the engine for a few seconds—this allows the fuel system to pressurize.
8. Check for leaks
- Start the engine and inspect the fuel filter connections for leaks.
- If you see fuel dripping, turn off the engine immediately and tighten the fittings.
9. Clean up & dispose of old parts
- Wipe up any spilled fuel and properly dispose of the old fuel filter according to local regulations.
A common DIY mistake is forgetting to relieve fuel pressure before starting! Always complete Step 1 to avoid messy (and dangerous) fuel spray.
Cost Savings with DIY Fuel Filter Replacement
One of the biggest advantages of replacing your fuel filter is the cost savings. Here’s a breakdown of what you might expect to pay:
- For parts and labor, you might save up to $100 – $200, or more, depending on your vehicle. Some dealerships may charge even higher prices, especially if the filter is located inside the fuel tank.
- An average fuel filter costs $15 – $60 (varies by make and model). And most DIYers already have wrenches, gloves, and jack stands.
By doing it yourself, you can save $50 to $150 per replacement. Plus, once you’ve learned the process, future replacements will be even faster and easier.
When DIY Might Not Be Worth It
- If your fuel filter is in the tank, it might not be worth it. Some modern cars have filters that are part of the fuel pump assembly, making replacement difficult.
- Since gasoline is highly flammable you might be unsure about handling fuel lines. That’s when it’s best to leave the job to a professional.
If you're not sure whether your fuel filter is DIY-accessible, search for a video tutorial on your specific vehicle model before deciding to tackle the job.
Safety Tips for Changing Your Fuel Filter
Working with fuel components requires extra caution. Follow these safety measures to minimize risk and ensure a smooth replacement process:
1. Work in a Well-Ventilated Area
- Gasoline fumes are highly flammable—never work in an enclosed space like a garage without proper ventilation.
- Avoid working near open flames, sparks, or hot surfaces (this includes cigarettes and power tools).
2. Relieve Fuel Pressure First
- Always follow the fuel pressure relief steps before disconnecting the filter to prevent fuel spray.
- Use a rag over the connection point when loosening the fuel lines to catch any remaining pressure.
3. Wear Protective Gear
- Safety glasses & gloves protect your eyes and skin from fuel exposure.
- Wear old clothes in case of spills—gasoline stains and odors are tough to remove.
4. Have a Fire Extinguisher Nearby
- Keep a Class B fire extinguisher within reach when working with gasoline.
5. Dispose of the Old Fuel Filter Properly
- Place the old filter in a sealed container and check local regulations for proper disposal. Never pour spilled fuel down a drain!
Remember: If you spill fuel, clean it up immediately with absorbent material (like cat litter), then dispose of it properly.
A Simple Fix for Better Performance
Replacing your fuel filter is a straightforward DIY maintenance task that can improve engine performance and prevent later repairs. Once you’ve done it once, future replacements will be much easier.
The best tip we can give you is to keep track of a maintenance schedule and take photos before removing the old filter. This makes reassembly easier, especially for first-time DIYers!
If you’re not sure about your vehicle’s setup, consult your owner’s manual or a trusted mechanic before proceeding. Your car’s fuel system is crucial for its performance, so always prioritize safety and accuracy when working on it.
Frequently asked questions
How often should I replace my fuel filter?
Most cars need a new fuel filter every 30,000 to 50,000 miles, but if you drive in dusty areas, use lower-quality gas, or notice performance issues, swap it out sooner. Check your owner’s manual to be sure.
What are the signs of a bad fuel filter?
If your engine sputters, stalls, or struggles to start, your fuel filter might be clogged. A loss of power when accelerating or worse gas mileage can also be red flags.
Where is my fuel filter located?
It’s usually under the car along the frame rail, near the gas tank, or in the engine bay. Some newer cars have it inside the fuel tank, meaning you’ll need a mechanic to change it.
Can I replace my fuel filter myself?
Yes, as long as you take precautions. Work in a well-ventilated area, keep fire and sparks far away, and wear gloves and safety glasses. If dealing with fuel makes you nervous, leave it to a pro.
How much can I save by doing it myself?
A shop will charge $100 to $200, but buying the filter yourself costs $15 to $60. If your filter is easy to access, you can save over $100 in under an hour.
What if my car won’t start after replacing the filter?
Double-check the flow direction on the filter and make sure the fuel lines are tight. Turn the key to “On” for a few seconds before starting to repressurize the system. If it still won’t start, check for leaks or loose connections.
Related Articles

Car Maintenance Guide: Everything You Need to Know
Maintaining your vehicle is essential for its longevity, safety, and performance...
Sep 26, 2024 • 5 min read

How Long Do Car Batteries Last? Everything You Need to Know
side. A dead car battery is one of the most common reasons for cars...
Feb 6, 2025 • 5 min read

How to Check Your Tire Pressure
Did you know that nearly 50% of vehicles on the road have at least one under-inflated tire?
Oct 3, 2024 • 5 min read

Common Problems With Traction Control
Did you know that nearly 70% of modern vehicles come equipped with traction control systems (TCS)? This technology...
Oct 10, 2024 • 5 min read